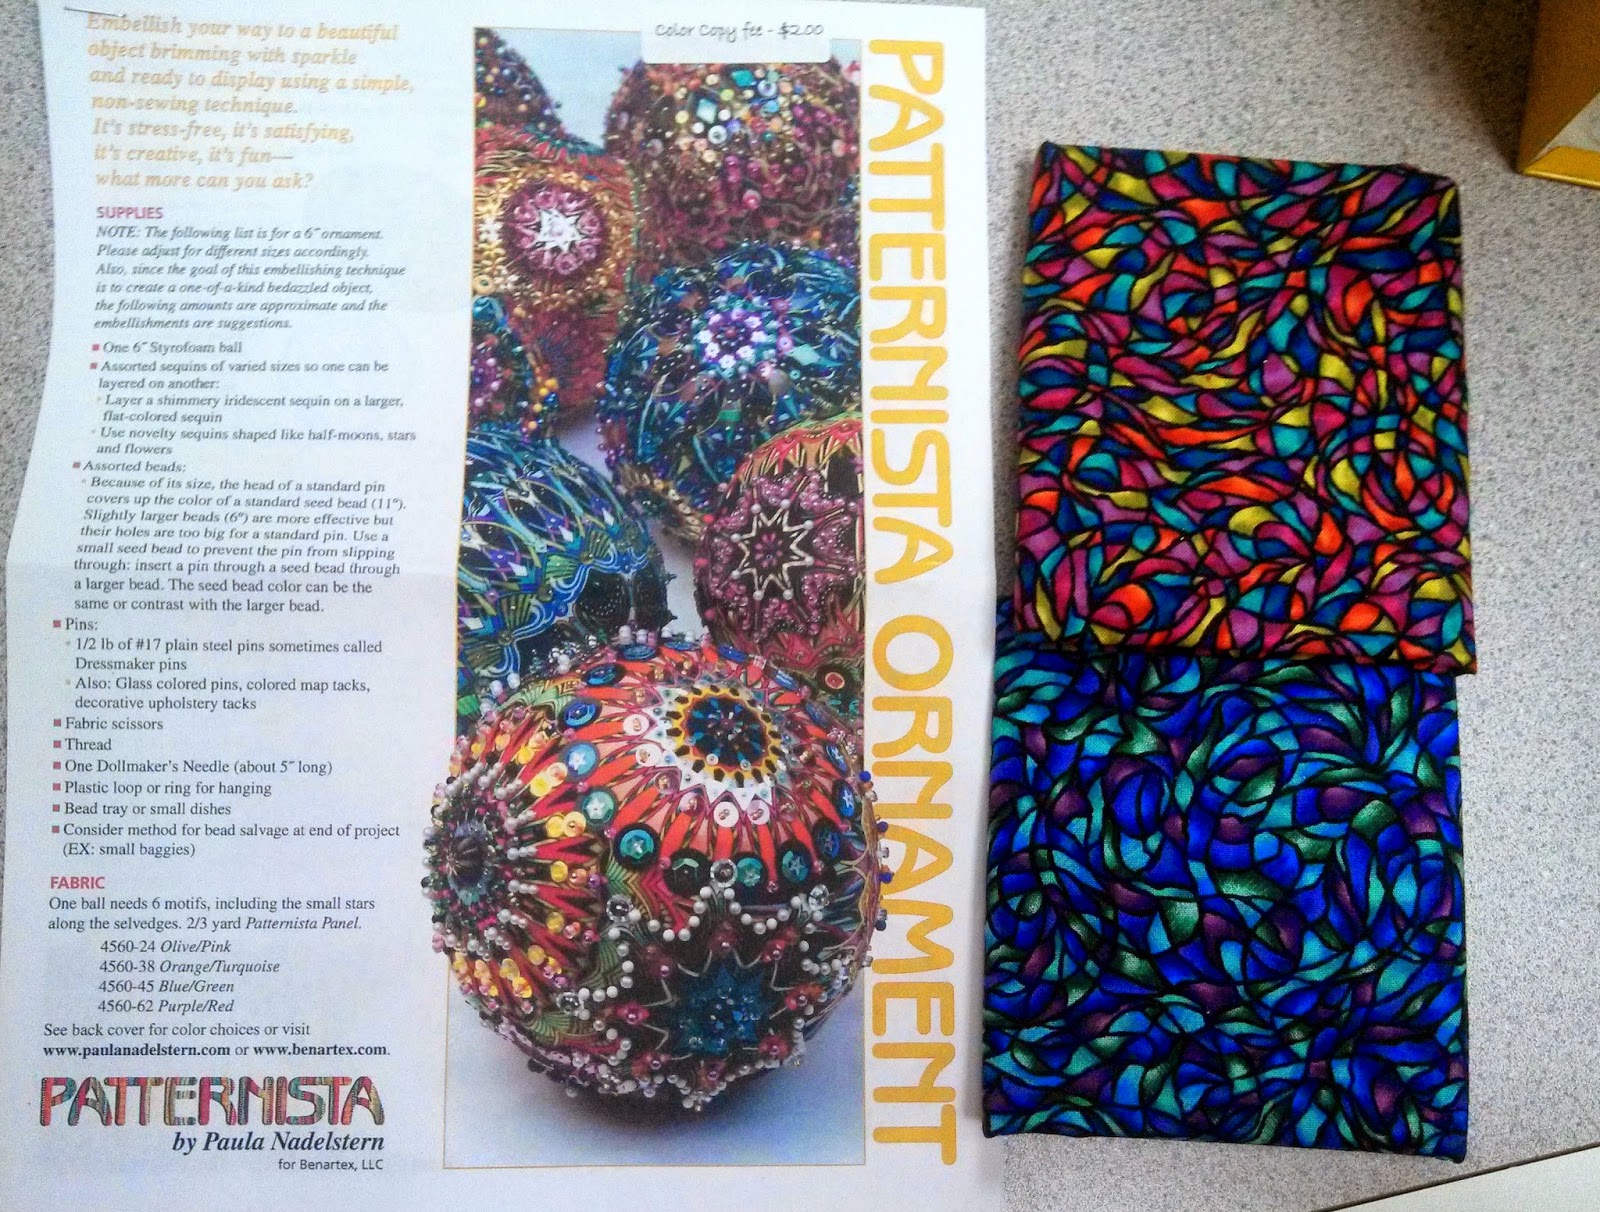
Paula Nadlestern has done it again! Her new fabric line, Fabracadabra, reminded us of her Patternista line that we used to make Beaded Ornaments a few years back. The new motifs are equally beautiful and up to the task of becoming awesome ornaments. The following pictures show the ornaments in the making and finished. They are now hanging at the shop, alongside the ones made from Patternista. The Patternista ones had been living in Delphine's sewing room, making one corner particulary pretty! Come in and see them in person, buy a panel or two along with a starter pack of beads, a few balls and some pins, then sit down and have some fun with beads and sequins. We don't have to use fabric just to make quilts!
Wednesday, April 29, 2015
Friday, April 17, 2015
Sun Drenched and Blue Paradise
Delphine worked one these gorgeous samples at the Bayshore Christian Women's Quilt Retreat this past weekend! Aren't they just stunning?
The blue quilt is made from the Blue Paradise fabric line by Benartex, and the orange and pink one is Sun Drenched by Benartex. The pattern is a free download (available here: www.benartex.com/uploads/Image/quilt-gallery/537/Flowerscapes_pattern.pdf). You can also pick up a printed version of the pattern in the shop for a $2.00 color copy fee, or we'll give you the pattern free if you buy all the fabric needed to make the quilt! The pattern makes a 42-block quilt. Delphine used half the fabric called for and made 20-block quilts, plus 4 extra blocks to use in the backing and for other projects with other prints from the collection.
Here's the top of the Blue Paradise quilt:
...and here's the back:
Here's the Sun Drenched top:
...and here's its back:
Monday, March 30, 2015
Primitive Gathering Antique Flower Garden
Delphine has been working on making a sample of Primitive Gatherings' Antique Flower Garden! It's a beautiful wool applique on flannel, which is so nice for your hands to work with.
Here's the cover of the pattern, showing what the finished quilt will look like (it finishes at 44" x 46"). We have the recommended flannel for the background plus wool kits from Primitive Gatherings for the applique! The wool kit is not pre-cut. You do need to trace out all the pieces onto fusible and then cut them out. But we like tracing and cutting with scissors, so that part can be enjoyable and relaxing, not tedious.
This is the center medallion with the applique fused on. Beautiful, isn't it?
Nope, we didn't toss some green noodles on the quilt. Those are skinny strips of wool for the border vines!
Lots and lots of little pieces!
The totally fused quilt top! Delphine made an "oops" when laying it out and realized half-way through that the fabric was width-wise, rather than length-wise on the board. So the nap of the flannel is exactly going sideways, but you really can't tell even close up. And now the quilt is wider than it is long, the exact opposite of the pattern layout! But, at that shape, it'll look nice on a wall, so not a bad mistake to make.
Friday, March 20, 2015
How National Quilting Day Started
Our National Quilting Day festivities have begun! Come on in and join the fun!
If you want to know a little more about National Quilting Day, here's a little summary of it's history based on the National Quilting Association's website (nqaquilts.org/nqd/).
National Quilting Day began in Kentucky with the Kentucky Heritage Quilt Society. In 1989, they decided to set aside the third Saturday of March for a "Quilters' Day Out" to celebrate Kentucky's rich quilt-making heritage. It was a hit! Just two years later, in 1991, the National Quilt Association officers were so excited about the event that they voted to make it national. The first National Quilting Day was held in 1992, and quickly grew into a world-wide celebration of quilts and quilting. In just the very first year, quilters from all over the world asked to participate and were gladly welcomed in. And it's been going ever since, on every third Saturday in March. This year, that's tomorrow! But our celebration at the shop has already started and will run through Monday!
Thursday, March 19, 2015
Happy National Quilting Day!
Saturday, March 21st, is National Quilting Day!
We are celebrating from Friday, March 20th, to Monday, March 23rd!
As part of this celebration of quilting, we have these offers going on:
A Free Gift just for coming in!
Spend $20.00 and receive a Free Fat Quarter!
Buy a Kit and take 25% off your backing and/or batting!
Buy a spool of Thread and get another one at 25% off!
Buy a cut of Fabric and get another one at 25% off! (one yard or more required)
Buy 1 Fat Quarter at 1% off, 2 at 2% off, and so on, up to 40 at 40% off!
Thursday, March 12, 2015
Chain Letter - Pre-Cut Kit by RJR!
This stunning quilt is a another sample of one of our pre-cut kits. Judy Stone pieced it and Vicki Holloway quilted it. They did a great job (as always)! Delphine is spending her time at the quilt retreat binding it, and it will be hanging in the store next week.
The quilt was designed by Lynette Anderson for RJR and is called "Chain letter".
It finishes at 84" x 101" and costs $159.99.
Friday, March 6, 2015
Snowball Fight Blocks
Here are all of the blocks from the Snowball Exchange. It took nearly two hours to lay out all 20 piles of 20 blocks! They were all picked up yesterday by everyone in the exchange, and we're looking forward to seeing what gets made with them!
Monday, March 2, 2015
Radiant Quilt Kit
This is a short video tutorial of one of the kits we have at the shop. It makes a beautiful quilt called "Radiant" that has the "radiating and shimmering effects of a mountain spring". Even better, the kit is entirely precut! Delphine sewed it together in about a day and a half. Some people find the colors masculine, and others simply find them soothing. The kit makes a throw-sized quilt that finishes at 62" by 71".
Monday, February 9, 2015
How to Make Boxes out of Calendars or Cards
We've been making lots of little boxes at our quilt retreats, and we wanted to share the fun with all of you! Here are directions for making your own little boxes out of old calendars, cards, or paper. The sturdiness of the paper you use will determine how sturdy your box is.
First off, here are the written instructions:
And here are the pictures illustrating those instructions:
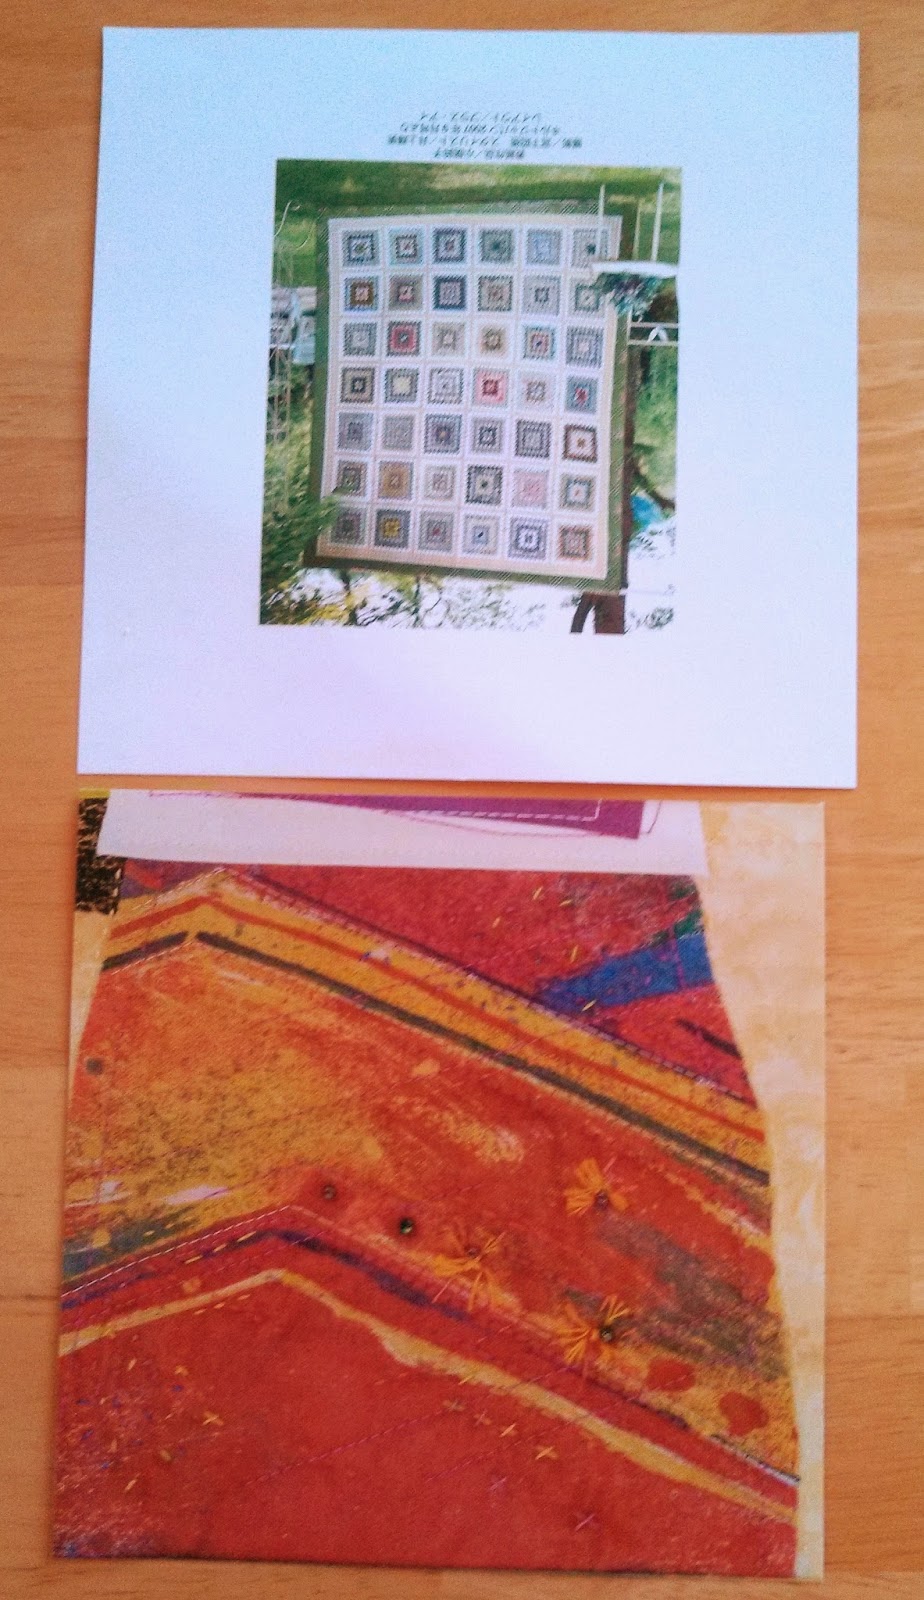
Cut your card or calendar to be square, making sure that your chosen design remains centered. When you cut the piece for the bottom of the box, cut it smaller than the piece for the top. The easy way to do this: Cut the top and bottom pieces the same size. Then cut 1/4" off two adjoining sides of the bottom piece.
Take a ruler and mark a large X in the center of your paper/card/calendar.
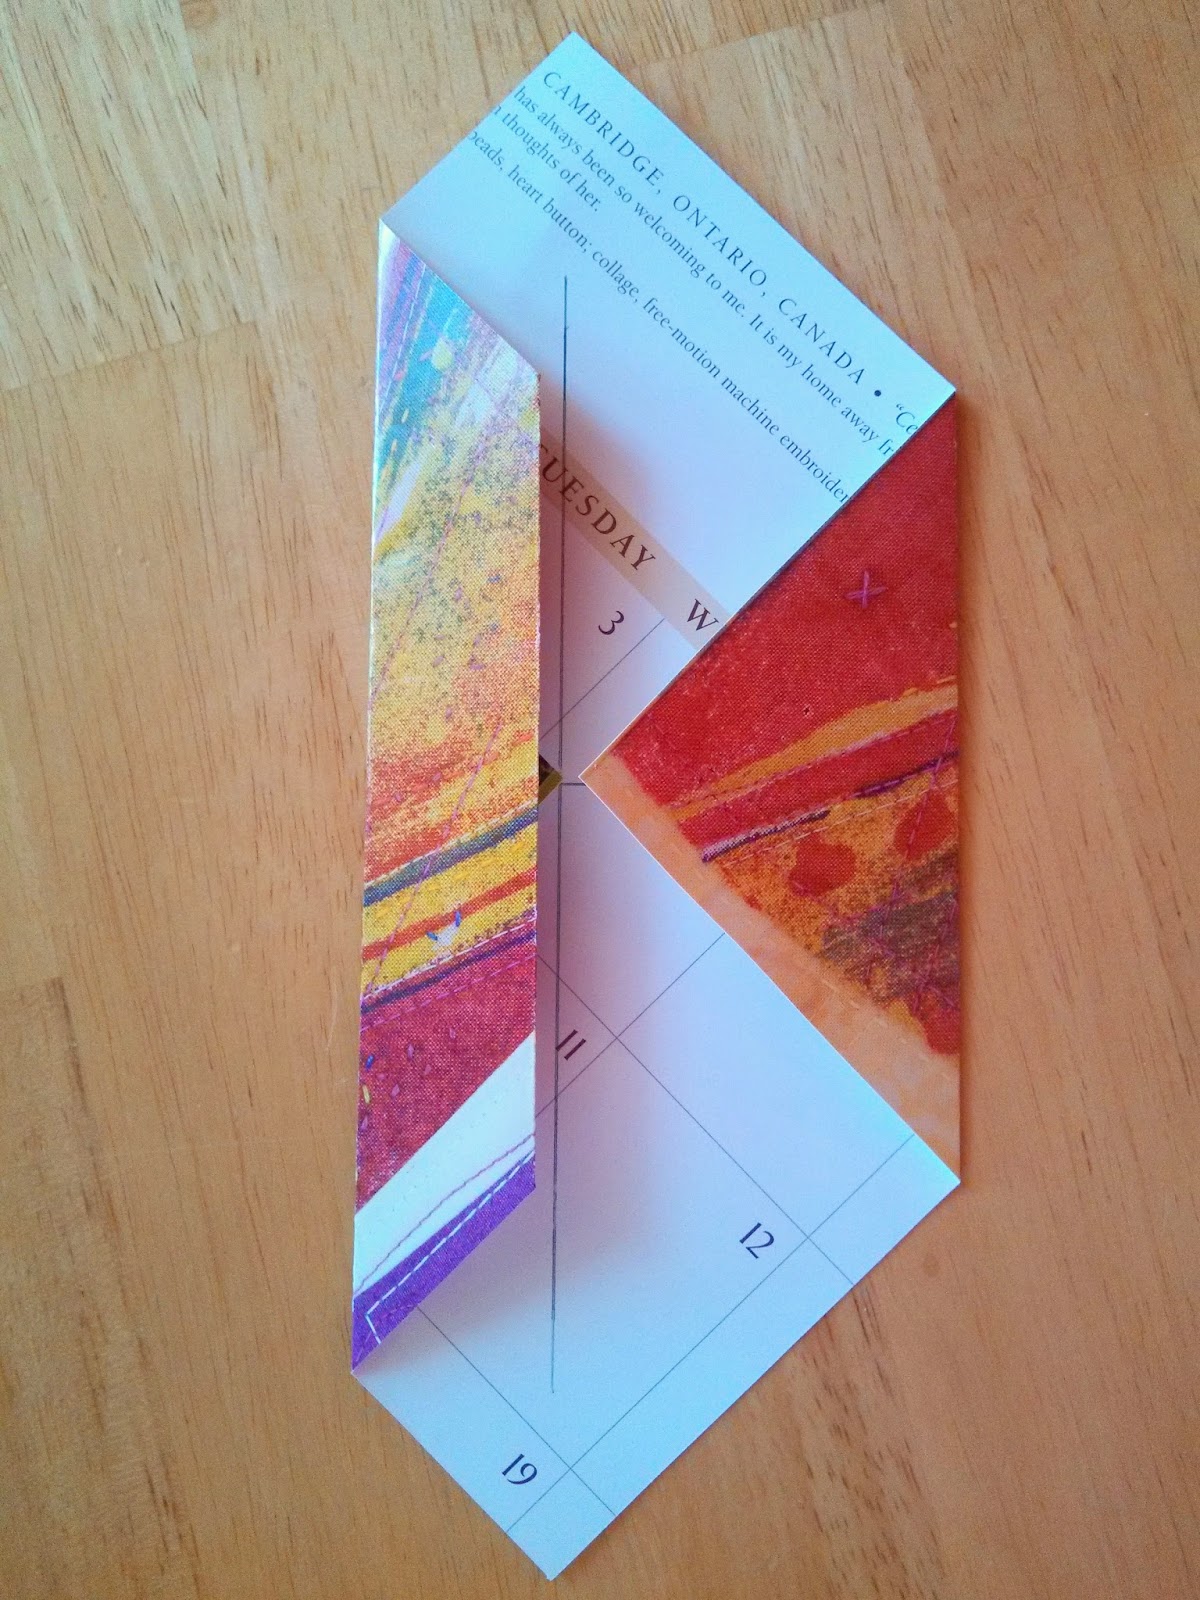
Fold a corner into the center of the X and crease, then fold the creased edge in to meet the line of the X and crease. Do this for all four corners.
Unfold your paper and make four cuts, as you can see in the picture. The cuts should go the length of one triangle and one square, and there should be two squares between each cut. Make sure the cuts are facing each other! The instructions say to cut off the little triangle you get when you make the cut, but we just leave it on. Put a little glue in the center of your paper.
Next, take the large triangles on each side, and fold them up following the previous fold lines.
Now that you have two sides folded up, fold the last two up and over the tabs. Press and smooth in the middle to make sure that all four triangles that meet there are firmly held down by the glue.
You have a box! Here's the top of ours:
and here's the bottom:
Lots of little boxes. The largest ones are about 4" in size and were made from 12" pages, while the smallest one started at 4" and is now approximately 1 1/4". So your box will wind up being about 1/3 the size of the paper you start with.
Subscribe to:
Posts (Atom)


